
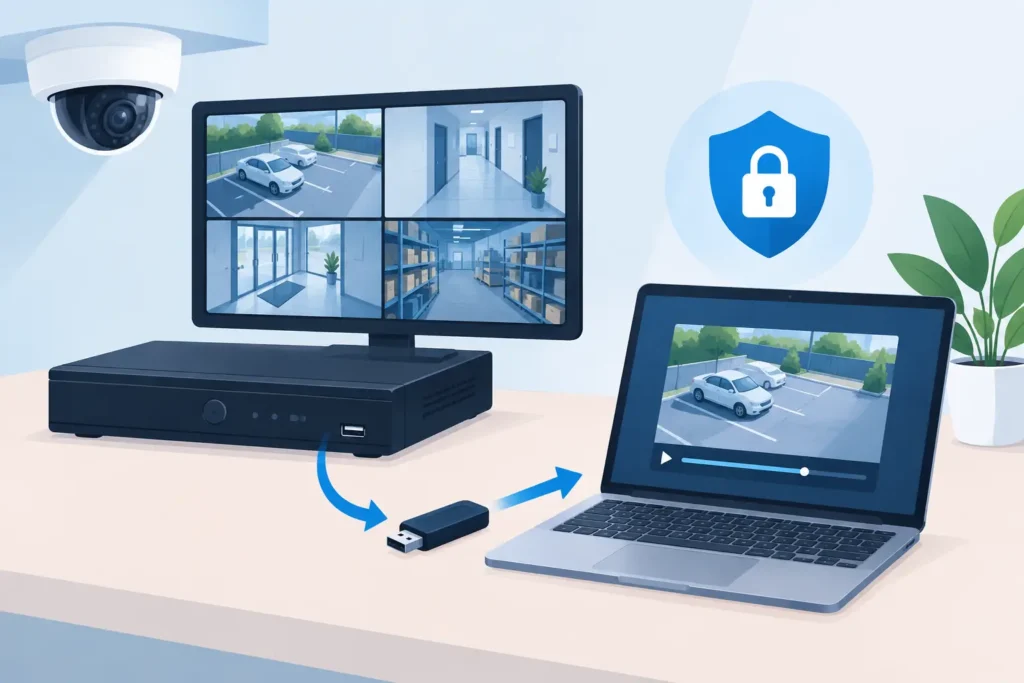
When an incident has happened, the worst time to learn how to extract footage from CCTV DVR is when the recorder is still writing over the evidence. Most DVRs use continuous recording and, depending on camera count, quality settings and hard-drive capacity, valuable footage may be overwritten within days. Act quickly, but do not rush into deleting, formatting or removing the DVR hard drive.
The safest approach depends on whether you simply need a clip for internal review or whether the video may be needed by police, insurers, solicitors, HR teams or a court. A usable export is not always the same as a defensible piece of evidence. The original recording, its timestamps, camera details and export method can all matter.
First, protect the CCTV recording
Before searching for the event, stop anyone from changing recorder settings, rebooting the unit repeatedly or using the hard drive for unrelated playback. If you can do so without affecting a live security requirement, prevent the DVR from continuing to overwrite the relevant date and time range. Some systems allow the affected channels or clips to be locked. Others require the recorder to be powered down once a suitable export has been made.
Record the basics immediately: the DVR make and model, serial number, physical location, camera numbers, displayed system time, and the approximate start and finish time of the incident. If the recorder clock is wrong, write down the difference. A system showing 14:00 when the incident happened at 15:00 can cause serious confusion later.
Do not assume the footage is missing because it does not appear in a quick playback search. CCTV recorders commonly save video by camera channel, schedule, motion event, date partition and proprietary file structure. A search may fail because the wrong channel, stream type or time zone has been selected.
How to extract footage from a CCTV DVR
Use the recorder’s own export function wherever possible. This preserves the best available copy and avoids unnecessary handling of the internal storage drive. Connect a clean, reliable USB storage device with enough free space, ideally one that has been tested beforehand and contains no unrelated sensitive files.
Find the exact recording window
Log in using an authorised account and open playback rather than live view. Select every relevant camera, not only the one pointed at the incident. A doorway camera may show who entered; a wider camera may establish direction of travel; a till or reception camera may provide the clearest timestamp.
Search a wider period than you think you need. For a suspected theft at 10:15, begin at least 10 to 15 minutes earlier and continue beyond the apparent event. This gives essential context and reduces the risk of exporting only a fragment that is difficult to interpret.
Watch the footage before exporting. Check for gaps, jumps between files, incorrect dates, daylight-saving issues and low-quality secondary streams. Many DVRs store a high-resolution main stream for recording and a lower-resolution sub-stream for remote viewing. Export the highest-quality available recording, not merely the preview shown in an app.
Export native footage and a viewable copy
Where the DVR offers a choice, export in its native or original format first. This may be a manufacturer-specific file type, often accompanied by a player application or verification data. Native exports can retain metadata, camera identifiers and authenticity information that an ordinary video conversion may remove.
Also create an MP4 or AVI copy if the system supports it, as this is easier for a manager, insurer or investigator to view. Treat this as a working copy, not a replacement for the original export. If no standard format is available, retain the manufacturer player supplied by the DVR and note its version where possible.
Avoid screen-recording playback unless there is genuinely no export option. Screen recordings are lower quality, may omit frames and cannot usually demonstrate that the image came directly from the recorder. They can be useful as a quick reference, but not as the sole preservation method for important evidence.
Verify before you leave the recorder
Open the exported files on a separate computer or approved device. Confirm that each clip plays from beginning to end, includes the intended cameras and shows the expected date and time overlay. Check that audio is present if your system records it and its use is lawful in your setting.
Then create at least two copies. Keep one protected master copy and use the other as a viewing or sharing copy. Label storage media clearly with the case reference, camera channels, date range and export date. Do not edit, crop, add captions or enhance the master footage.
Preserve evidence properly when the stakes are high
For legal, disciplinary or insurance matters, keep a simple chain-of-custody record. This need not be complicated, but it should identify who handled the footage, when they handled it, what was exported and where the original copy is stored. Record the DVR serial number and the export media identifier as well.
If your system can generate file hashes or export verification reports, retain them. A hash is a digital fingerprint that helps demonstrate a file has not changed. Forensic tools can also calculate hashes after extraction, but the original native export should remain untouched.
Be cautious with cloud sharing, messaging apps and social platforms. They may recompress video, strip metadata or expose sensitive images to people who have no legitimate reason to see them. This is particularly relevant for workplace CCTV, healthcare settings, residential buildings and footage involving children. Handle recordings in line with your organisation’s data-protection responsibilities and retention policy.
When a normal DVR export fails
A failed export does not necessarily mean the video is gone. The problem may be a corrupt USB device, unsupported file system, damaged DVR database, failing internal hard drive or manufacturer-specific encoding. Trying random repair programs or repeatedly restarting the recorder can make a recoverable situation worse.
Warning signs that need specialist attention include clicking or beeping hard drives, a DVR that freezes during playback, a message asking to initialise or format the disk, missing dates in the archive, footage that exports as a zero-byte file, and video that plays but is heavily fragmented or pixelated. A recorder displaying “no hard disk” may still contain a drive with recoverable CCTV data.
Do not remove the drive and connect it to a Windows PC to see what is on it. Standard operating systems may report the disk as unformatted because CCTV recorders often use proprietary partitions and database layouts. Accepting a format prompt can destroy the file-system information needed to reconstruct recordings.
Professional CCTV recovery is particularly valuable where the export function is unavailable, the DVR will not boot, recordings were deleted, or evidential handling is required. A forensic extraction can work from a controlled copy of the storage media, preserving the original device and reducing the risk of further changes. It can also identify video blocks that are present on disk but no longer visible through the DVR menu.
Common mistakes that cost footage
The most damaging mistake is delay. Continuous recording does not send old footage to a recycle bin – it reuses storage space. The second is exporting only one camera or only the moment of impact, without the surrounding sequence. Third is trusting a low-resolution app download when the recorder holds a better original stream.
Other avoidable errors include setting the wrong time range, confusing a camera number with its on-screen name, using a nearly full USB stick, and assuming a copied file is safe without playing it. If the event is sensitive, another mistake is circulating clips informally before deciding who is authorised to receive them.
A calm response protects more than the video
CCTV footage can settle a dispute, support a criminal investigation, protect staff or explain exactly what happened. Its value often depends on decisions made in the first hour: preserve the recorder, export carefully, verify the copies and keep the original intact.
If the DVR is damaged, the files will not play, or the footage may be required as evidence, stop experimenting before the recordings are overwritten. Data Recovery Lab can assess CCTV storage and recover inaccessible or corrupt video with secure, forensic-grade handling and a no-recovery, no-fee approach.
